|
Installing Front Baer Rotors and Brake Pads
Purpose
Decrease stopping distance.
Tools Required
- 15mm Socket
- 15mm Deep Socket
- 15mm Boxed End Wrench
- 18mm Open End Wrench
- 19mm Socket
- 1/2" Breaker Bar
- 1/2" Torque Wrench (capable to go up to 125lb ft)
- C Clamp
- Jack - 2 Ton (with small lift plate)
- Jack - 3 Ton (with big lift plate)
- Jack Stands (for safety)
- Wire brush or coarse steel wool pads
Parts
|
Manufacturer
|
Part #
|
Description
|
Purchased From |
Price
|
|
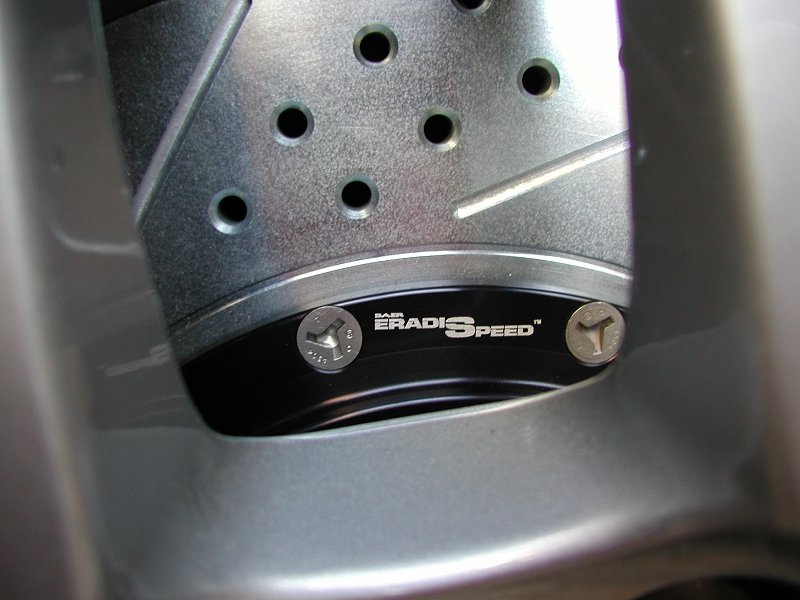
Baer |
--- |
Baer EradiSpeed Front 2 Piece Rotors
Baer EradiSpeed Rear 1 Piece Rotors |
PFYC.com |
$799 |
|
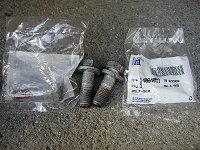
ACDelco |
14084051 |
Brake Caliper Bracket Bolts ($4.50ea. x 8) |
PFYC.com |
$36 |
|
Carbotech |
--- |
Carbotech Panther Plus Fr/R Brake Pads |
PFYC.com |
$149 |
|
|
|
|
|
|
|
Total
|
Not including shipping.
|
$984 |
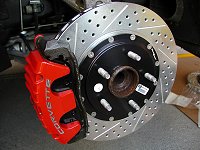
Installation - Front Rotors & Brakes Pads
Installation below shows the front right rotor &
pads. Installation of the front left rotor and pads the same.
Install Time: (60-90min.)Click On An Image To See It In Full Size
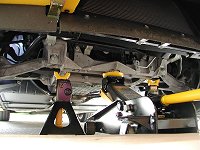
1. Jack Up The Front of Your Car
Loosen the lug nuts on both front wheels using a 19mm socket (just crack
them loose, DO NOT REMOVE THE LUGS ALL THE WAY WHEN THE CAR IS STILL ON THE
GROUND. Now, get a small jack and partially jack up one side of the car a
few inches to allow enough clearance in the front so you can slip your heavy
duty jack under the car. Local the center jacking point and jack the car up.
Place two safety stands under there for extra protection.
2. Remove Your Front Wheel.
Hopefully you already cracked your lug nuts loose before jacking up the
front of your car. Just remove the wheel and put it aside.
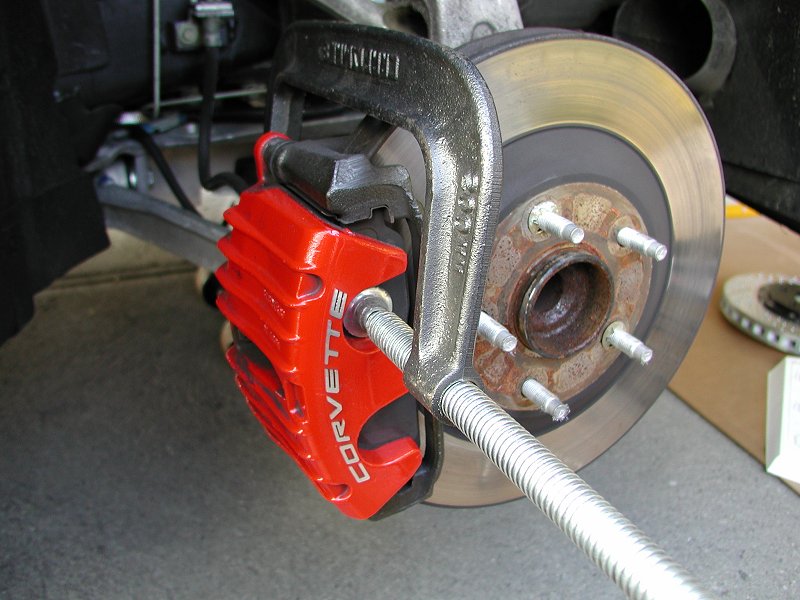
3. Compress Caliper Pistons.
Depending on how much wear is on your current brake pads and rotors, you
might want to compress the pistons on the caliper with a C Clamp before
continuing. This will make for an easier installation later.

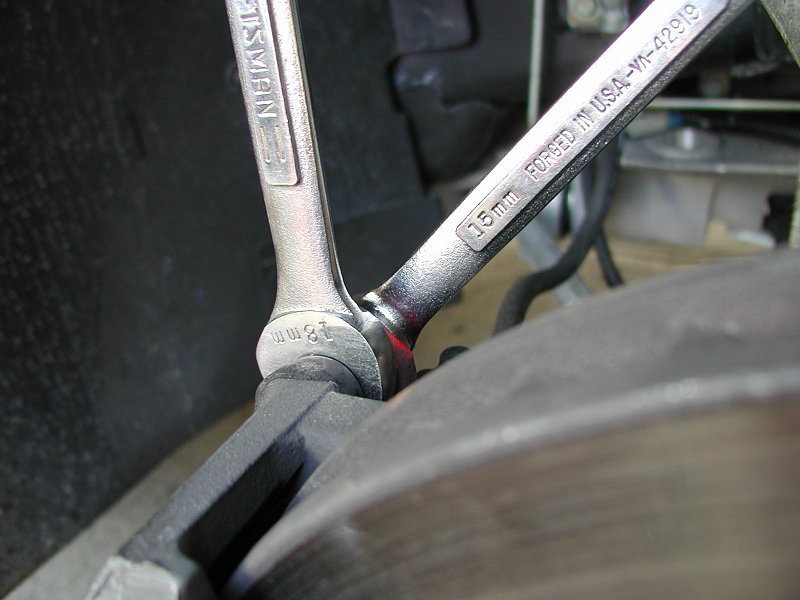
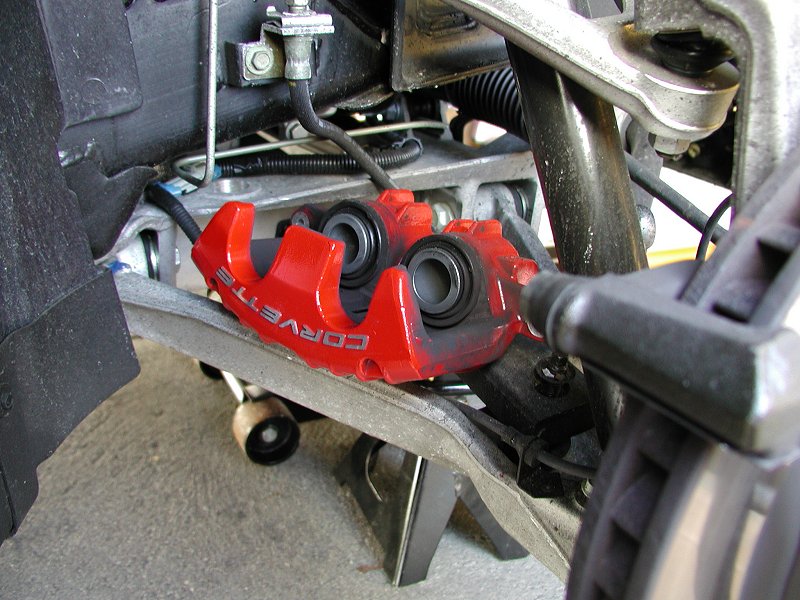
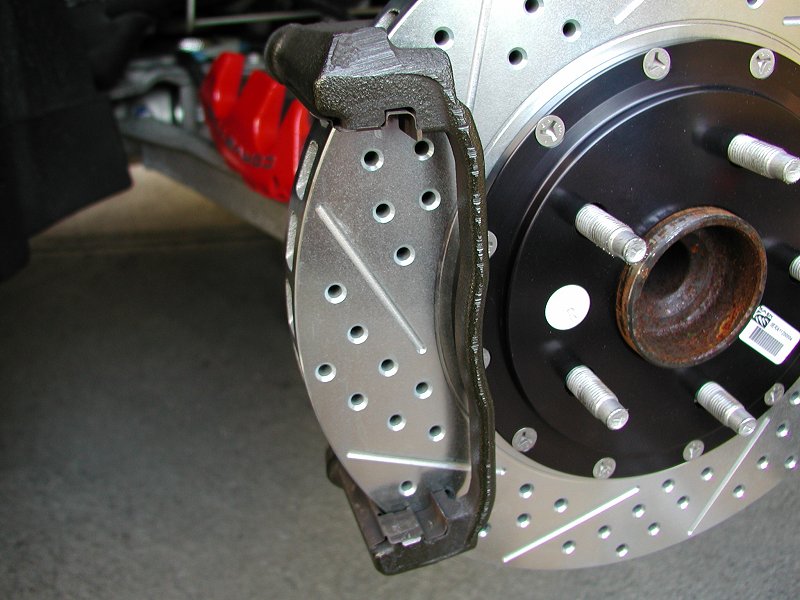
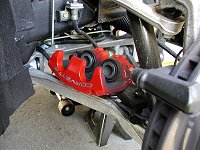
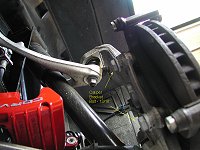
4. Remove Brake Caliper (Optional).
Removing the brake caliper is optional. It just makes accessing the
brake pads and the bracket bolts easier. On back of the caliper, the top and bottom has a
15mm bolt and a 18mm
glide pin. You'll have to use an open end 18mm wrench on the inner glide pin and
a 15mm box wrench on the outer bolt (or you can use a 15mm socket and
ratchet). Hold the glide pin while you loosen the
bolt. Once the outer bolt is loosen, the caliper will drop backwards. NOTE:
There is no need to pull out the glide pin!.
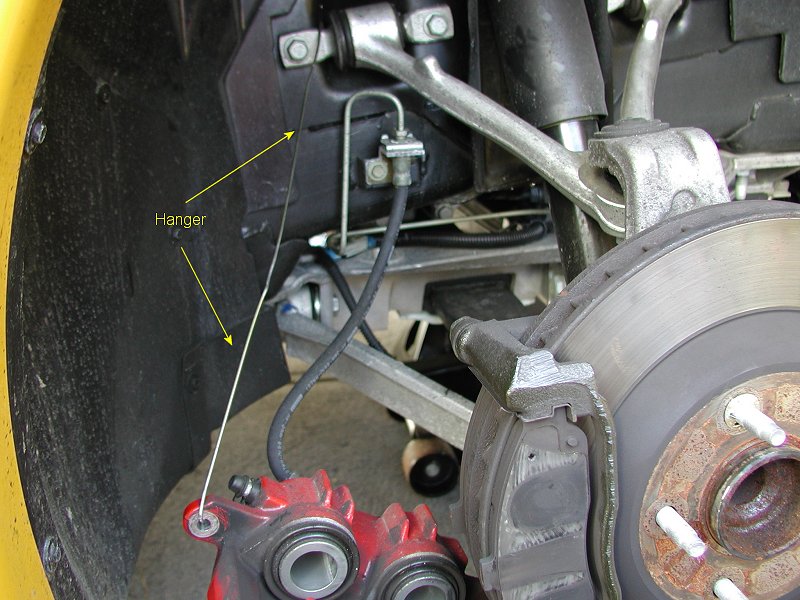
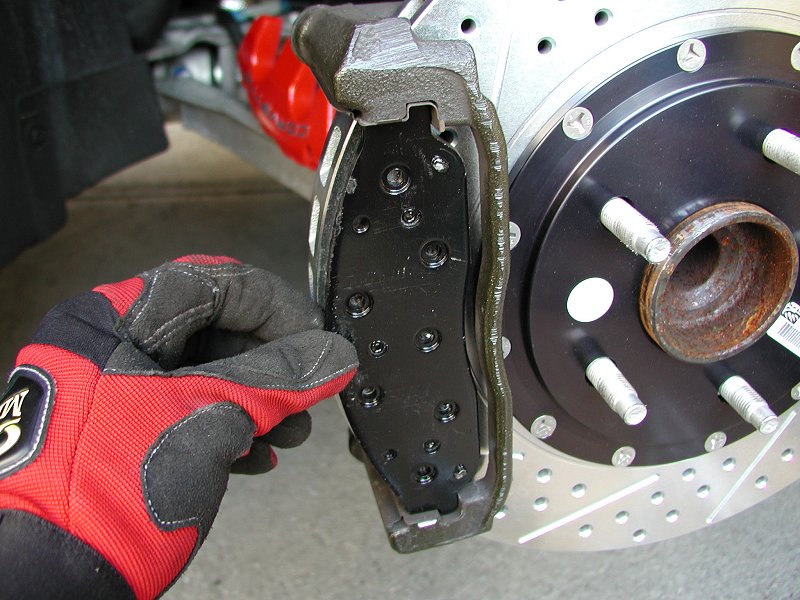
If you are changing your brake pads only, then all you have to do is
swing the caliper down and hang it with a metal hanger. This is necessary so
you don't put stress on the brake line.

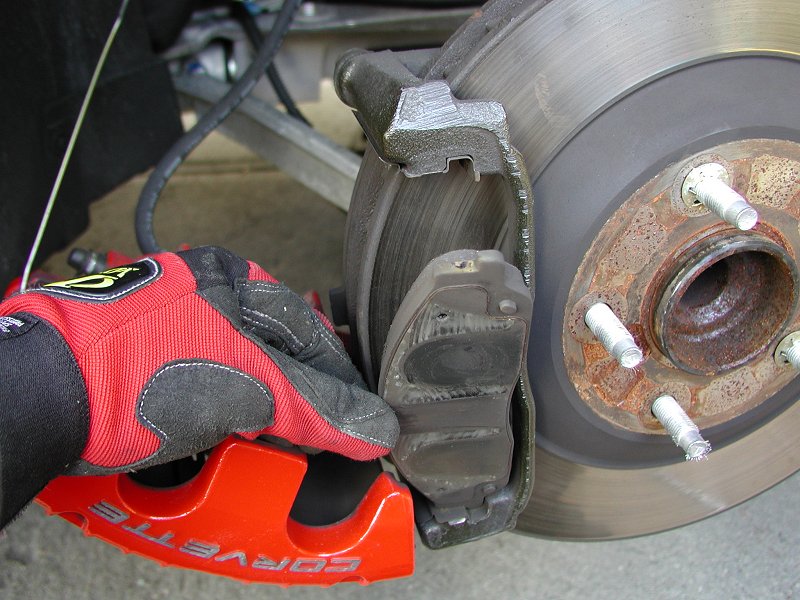
The brake pads will just slide out. If you are going to reuse these pads,
then put them aside for later. NOTE For Brake Pad Changes Only: If all you
are doing is changing your brake pads, then this is the time to swap them
out. If you are replacing the pads w/ OEM style pads that has wear
indicators on it, make sure you place the wear marker facing upwards and
make sure it is the inner pad. Once done swapping, just swing the caliper up
again the tighten the outer bolt to the glide pin. Torque it down to 23 lb
ft (50Nm). (ref. 2002 Service Manual page 5-71) and you are done. No need to
continue further as the next few steps documents how to replace the rotors.

Now with the pads out of the way, remove the bottom caliper bolt from the
bottom glide pin using the same method as the top bolt/glide pin. (Using the
15mm box wrench and 18mm open end wrench). Once done, take the caliper and
lay it flat on the control arm. Make sure you lay it down where it doesn't
put any stress on the brake line.
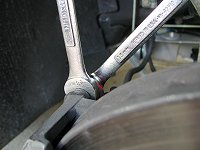
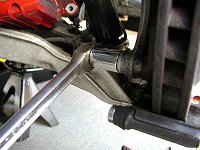
5. Remove The Brake Caliper Bracket.
This is the hard part. You'll need to get a nice heavy duty 1/2"
breaker bar and a 13/16" Socket. You must undo the two bolts as pictured
below. I found that if you hit the breaker bar a few times with your palm,
it will crack it loose. (If you have weak hands, this will definitely hurt).
Once you have it removed, place the bracket aside.
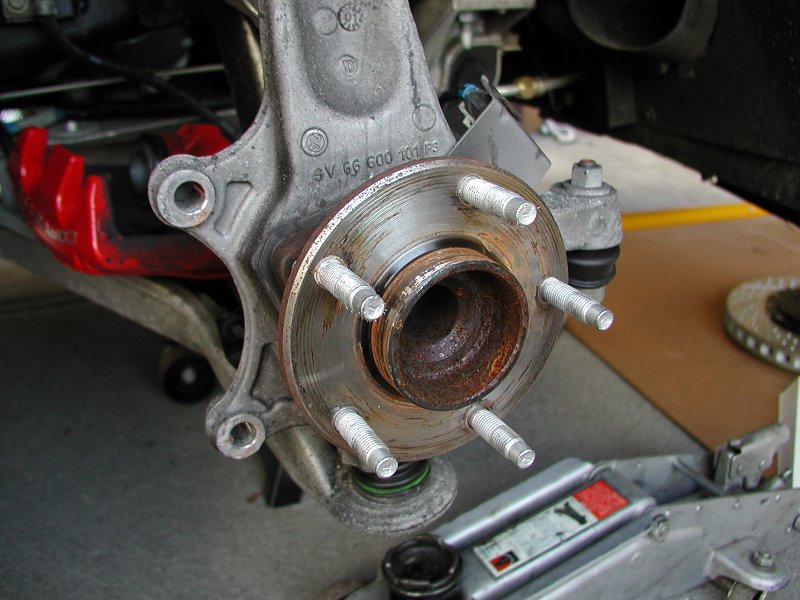
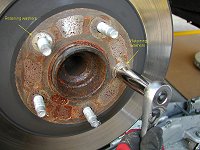
6. Remove The Retaining Washers.
My rotors had retaining washers on them to keep the rotor in place. Not
sure if you car will have them as well. If you do, I found that using a 15mm
deep socket will allow me to undo the washer without having to damage it.
Loosen it until you can grab it with your hands and twist it off. (I suggest
wearing good gloves or your might cut your fingers). If you don't want the
washers anymore (not really necessary) then you can simply clip it off.
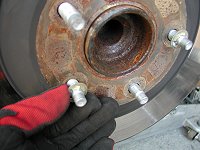
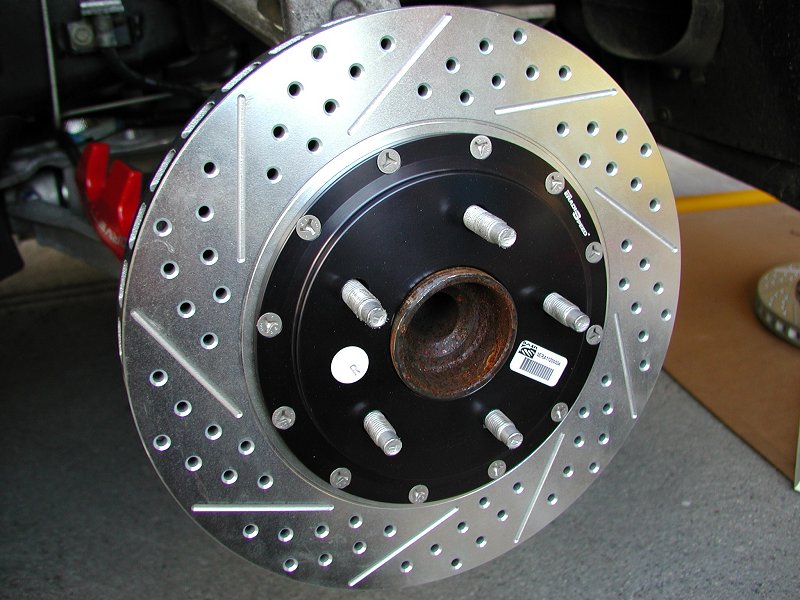
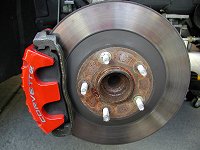
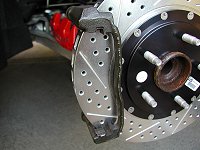
7. Out With The Old and In With The New (Rotor that is).
With those retaining washers out of the way, you can
simply pull off the old rotor. Clean the wheel bearing flange and the brake
rotor mating surfaces of any rust of contaminants with a wire brush or steel
wool. Once cleaned, put the new rotor in place.


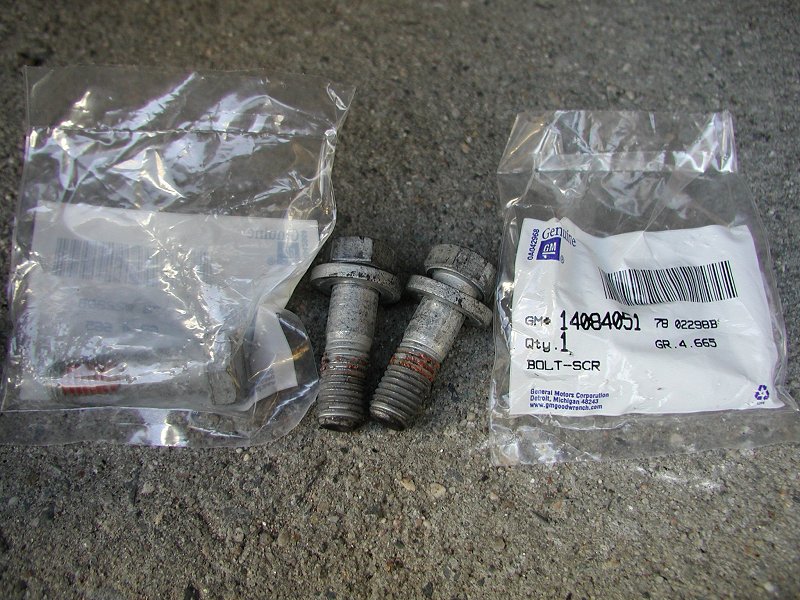
8. Reinstall Brake Caliper Mounting Bracket.
If you took the caliper and bracket off as one assembly, then replace
the pads first then slip the whole unit in and bolt it down. GM recommends that the original bracket bolt are not reused (ref. 2002
Service Manual page 5-81). New caliper mounting bracket bolts will have an
adhesive already applied to the threads to prevent the bolts from backing
out. If you already took off the bolts and don't have replacements, you can
get away with reinstalling the bolts this time around. Just make sure you
put a dab of thread lock on the threads. If this is your second or more time
removing the same bolts, replace them! Tighten the top
and bottom bolts to 125 lb ft (175Nm). (ref 2002 Service Manual page 5.81).
9. Reinstall Brake Pads (Only if Caliper was removed in step 4).
Take your new pads and slip them into the brackets. If your pads have
wear indicators on it, make sure you place the wear marker facing upwards
and make sure it is the inner pad.

10. Reinstall Brake Caliper (Only if Caliper was removed in step 4).
Slip the brake caliper over the brake pads and into the bracket. Finger
tighten the top caliper bolt to the top glide pin to hold the caliper in
place. Now finger tighten the bottom caliper bolt to the bottom glide pin.
Using the 18mm open end wrench you used earlier, hold the top glide pin
while the caliper bolt is tighten with a 15mm socket on a torque wrench. Torque the caliper
bolt to 23 lb ft (31Nm) (ref. 2002 Service Manual page 5-71).
11. Remount Wheel.
Lug nuts should be torqued in a criss/cross pattern to 100 lb ft. (140Nm).
(ref. 2002 Service Manual page 3-97)


12. Season New Rotors and Bed New Pads (Burnishing).
Follow these steps to Season the new Rotors and Bed the new pads.
Click Here
|