| Installing Factory Fog Lights
on a Z06 Purpose
To light up the road better under bad weather conditions.
Tools Required
- Philips Screw Driver
- Torx 10 Screw Driver
- 10mm Socket/Ratchet
Parts
|
Manufacturer
|
Part #
|
Description
|
Purchased From |
Price
|
|
GM |
12135155 |
Fog Light/Trunk Release Switch |
GMPartsDirect |
$26.74 |
|
GM/Blazer |
10438855 |
RH Factory Corvette Fog Light |
GMPartsDirect |
$52.98 |
|
GM/Blazer |
10438856 |
LH Factory Corvette Fog Light |
GMPartsDirect |
$52.98 |
|
GM |
10281487 |
HEX Nut (10 pieces) |
GMPartsDirect |
$4.30 |
|
GM |
11514623 |
10mm Bolt (10 pieces) |
GMPartsDirect |
$6.10 |
|
|
|
Assorted wires and a relay |
|
|
|
|
|
|
|
|
|
Total
|
Not including shipping.
|
$143.10 |
Installation
Install Time: (60-90min.)
Click On An Image To See It In Full Size
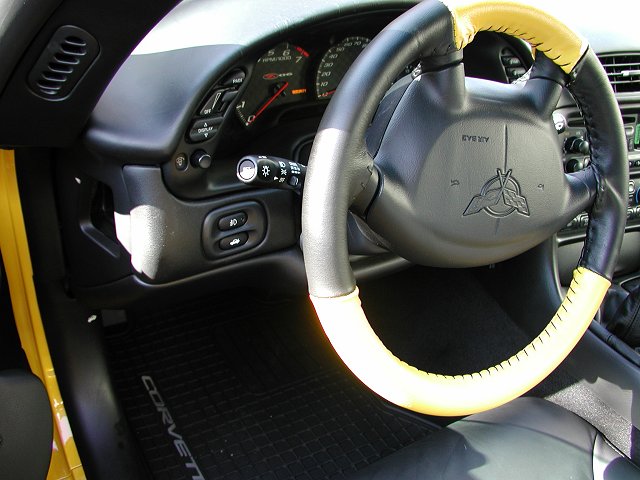
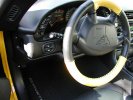
1. Install fog light/trunk release switch.
Pry under
the old switch (in the middle bottom edge) using a flat head screw driver.
(I used a flat head from a Swiss utility knife, as it is smooth and won't
scratch the dash). The old trunk only switch should pop out fairly easily.
Undo the harness and plug the new switch in.
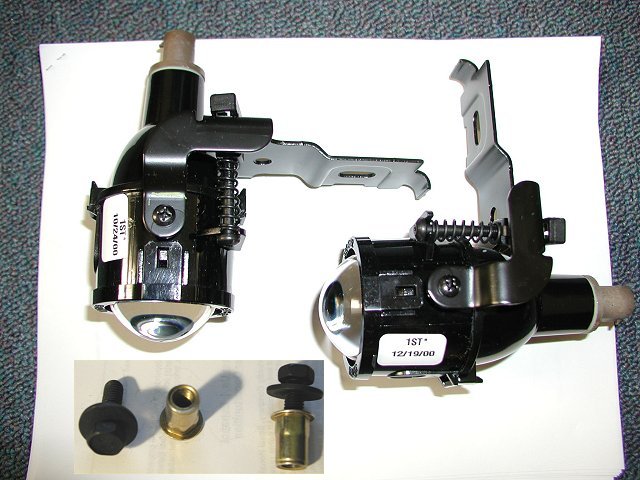
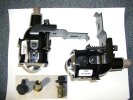
2. Brackets.
If you are going to install the PIAAs fog lights, just
remove the stock brackets and install it on the PIAAs. Here you can see the
factory blazer fog lights with the bolt and nut required for the install.
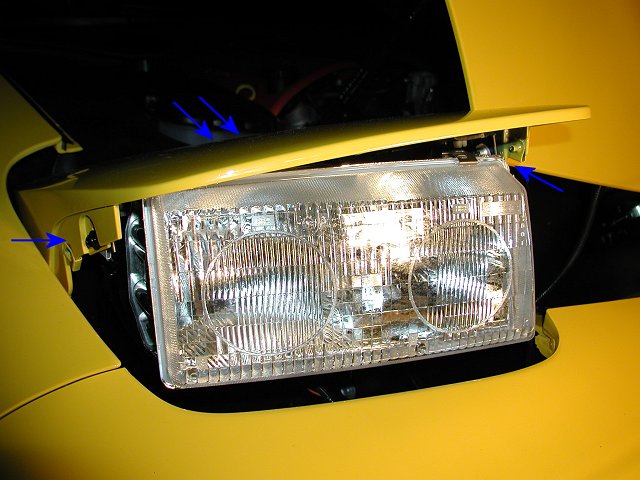
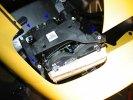
3. Removing headlights.
Pop up the headlights then
disconnect the battery. Start by removing 3 Philips screws from the sides of
the headlight bezel cover. (The black plastic part that surrounds the
headlights)
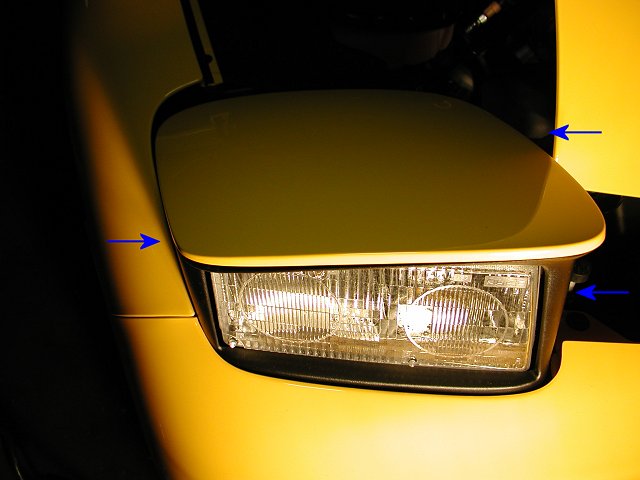
4. Remove headlight bezel.
If you grab the top of the bezel, and pull forward, it should tilt
downward. Then you can lift up and pull it out.

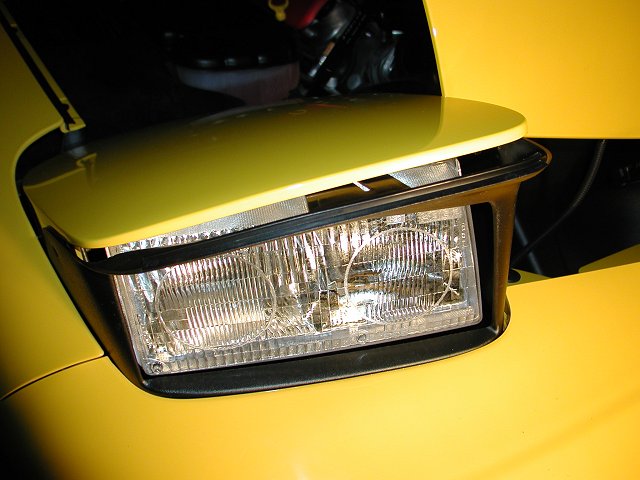
5. Remove headlight top.
With the bezel removed, you can now access the Torx 10
screws on the headlight cover. (The painted part, in my case it's yellow).
Remove all 4 T-10 screws from the cover and lift up.

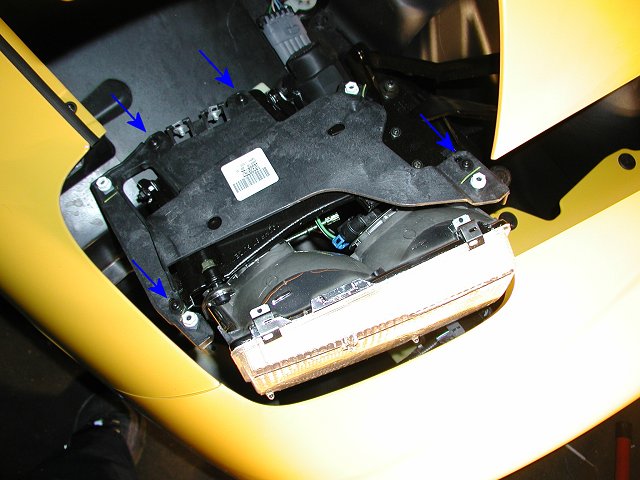
6. Remove support bracket.
You guessed it, more screws. Remove the 4 T-10 screws
from the support bracket.
7. Remove the headlight.
With the
bracket removed, you can access the 3 10mm screws holding the headlight to
the adjuster brackets. It's a little tight, but can easily be removed with a
1/4" or 3/8" ratchet and a 10mm socket w/ extension.
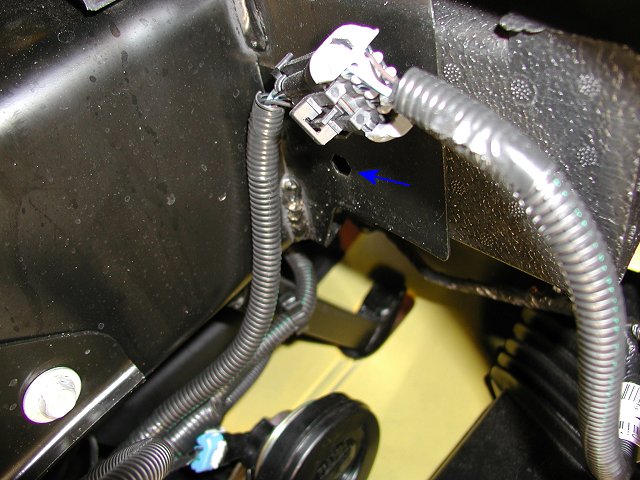
8. Locate hex shaped hole.
With the headlight out of the way, you can see the hex
shaped hole on the frame where you can mount the fog lights.
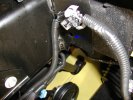
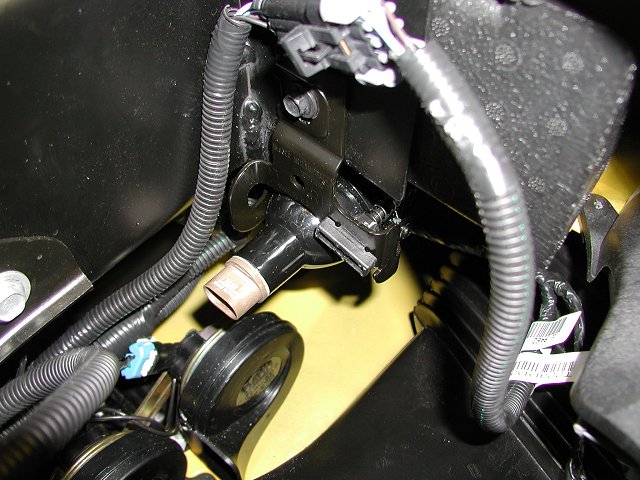
9. Place hex bolt into hole.
(Don't
worry, it seems like it won't hold, but when you tighten, it will compress
the nut and stay in place).
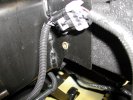
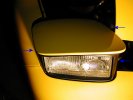
10. Mount fog lights.
Position your fog lights over the opening and using the
10mm bolt, tighten it down until it's in place. The Hex Nut will crush
behind the frame and stay in place and won't fall out.

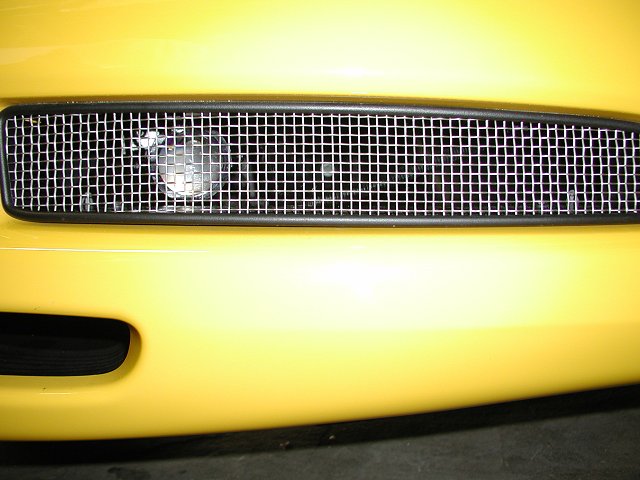
Here is a pic of the fog lights peeking through the Z06
front grill.

|