|
Installing KoolMat Headmaster
Tunnel Heat shield
Purpose
Keep the exhaust heat away from the interior.
Tools Required
- Jack & Jack Stands
- 5/16" Socket
- 15mm Socket
- 1/2" Socket
- 7/8" Open End Wrench
Parts
|
Manufacturer
|
Part #
|
Description
|
Purchased From |
Price
|
|
--- |
--- |
Koolmat Heatmaster Tunnel Heat Shield |
PFYC.com |
$329.99 |
|
|
|
|
|
|
|
Total
|
Not including shipping.
|
$329.99 |
Installation
Install Time: (30min.)Click On An Image To See It In Full Size
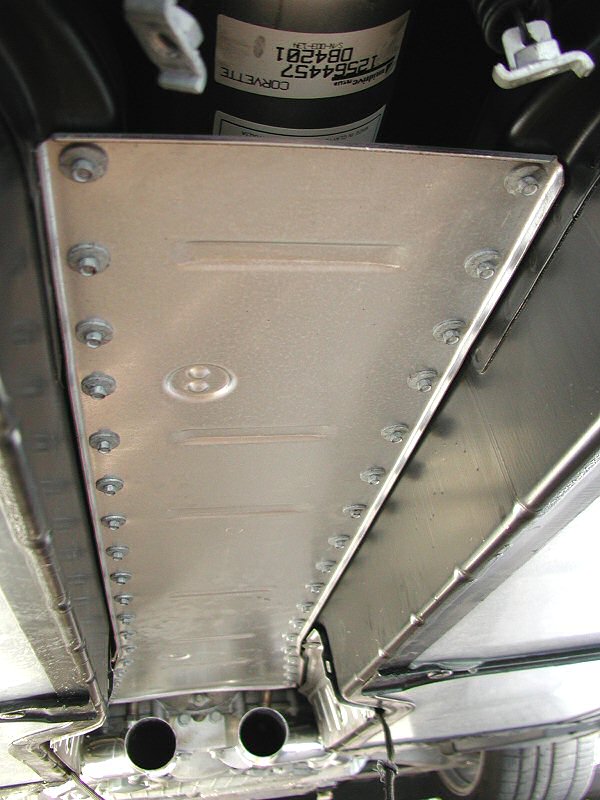
1. Removing intermediate pipe.
Please refer to the TPIS Headers/Random
Technology Cats & X-Pipe installation section for steps on removing the
factory intermediate pipe. Once removed, you should have a clear view of the
driveline tunnel closeout panel.
2. Mark the bolts on the driveline tunnel closeout panel.
Place the Koolmat over the driveline tunnel closeout panel and stick a
marker (ex. Black Sharpie�) through each of the
grommets on the Koolmat to mark the corresponding bolts. Once done, put
aside the Koolmat.
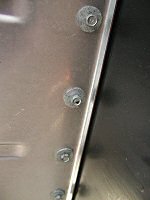
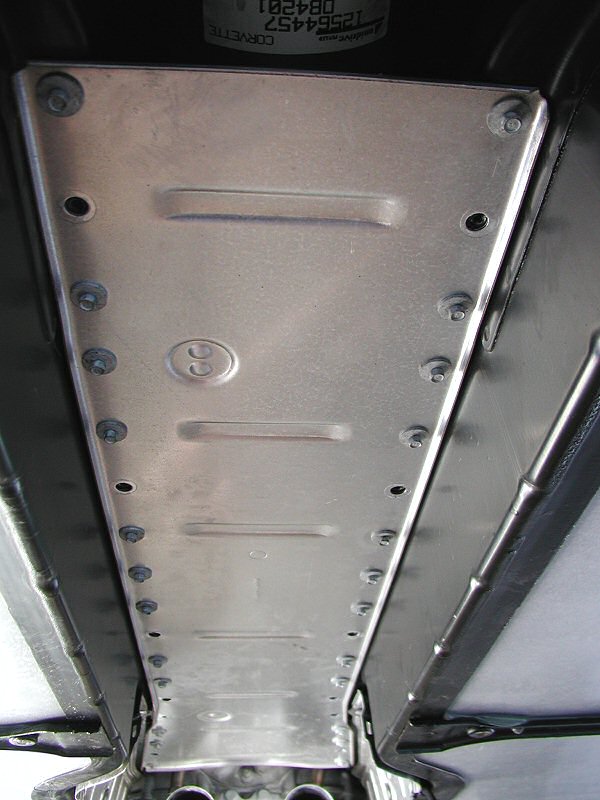
3. Remove marked bolts.
This part is a little tedious if you do not have air tools. Remove all
the bolts that you marked using a 5/16" Socket. There should be a
total of 12 bolts to remove.
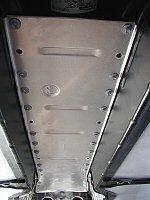
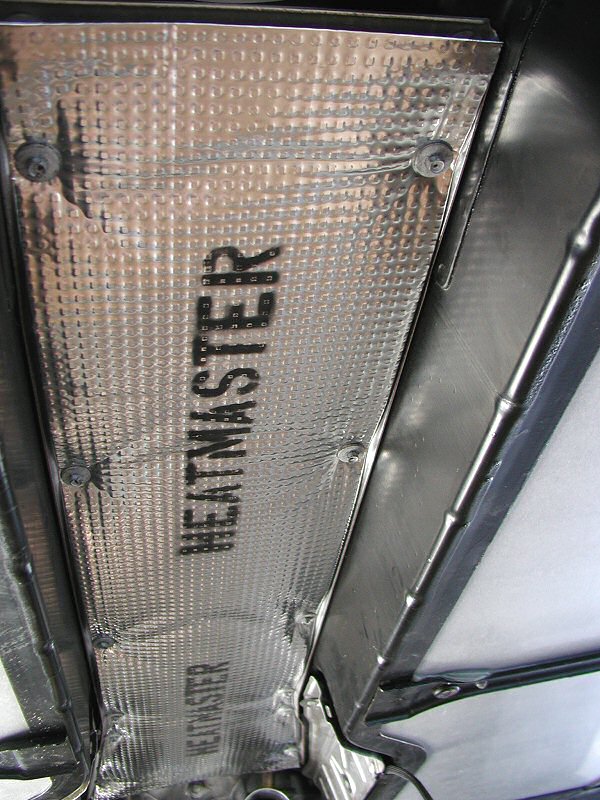
4. Install Koolmat Heatshield.
Now that you got all those bolts out, you can start installing the
Koolmat Heatshield. Loosely hand tighten all 12 bolts in place, then go back
and tighten them using a 5/16" Socket. Torque to 89 lb in (10 Nm).

5. Reinstall intermediate pipe for the factory exhaust manifolds and
intermediate pipe. (Those with TPIS Headers, Random Technology
CATS/X-Pipe, skip to step 6.)
a) Install the rear section (muffler side) of the intermediate pipe to
the muffler pipes by tightening the 4 15mm bolts to 37 lb ft (50
Nm). Note, two bolts per side.
b) Install the flange in front section (exhaust manifold & catalytic
converter side) of the intermediate pipe to the exhaust manifolds flanges by
tightening the 6 15mm bolts to 15 lb ft ( 20 Nm). Note there
is a donut gasket on each side, don't forget the gasket! Also note there are
three nuts per side.
c) Tighten the two exhaust pipe brace bolts in the front section of the
intermediate pipe using a 15mm socket and torque to 37 lb ft (50
Nm).
d) Tighten the two exhaust pipe hanger lower bolts in the rear section of
the intermediate pipe using a 1/2" socket and torque to 37 lb ft
(50 Nm).
e) Apply some anti-sieze compound to the threads of the two oxygen
sensors removed earlier and reinstall them on the intermediate pipe. Using a
7/8" Open End Wrench torque to 30 lb ft (42 Nm).
f) Replace the clips on the oxygen sensor harness if removed earlier.
That's it, you are done.
6. Reinstall Random Techonology CATS & X-Pipe.
Please refer to the TPIS Headers/Random
Technology Cats & X-Pipe installation section for steps on installing
the Random Technology Cats and X-Pipe.
|