| Installing Valentine One Radar
Detector Purpose
To help you obey posted speed limits.

Tools Required
- Wire crimper/stripper
- 13mm socket/ratchet
- Alcohol for cleaning
- Duct tape (optional)
Parts
|
Manufacturer
|
Part #
|
Description
|
Purchased From |
Price
|
|
Valentine One |
---------- |
Valentine One Radar Detector |
Valentine One |
$399.99 |
|
Total
|
Not including shipping.
|
$399.99 |
Installation
Install Time: (30-60min.)
Click On An Image To See It In Full Size
Description: As if you haven't guessed already, it's one of the
best radar detectors!
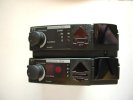
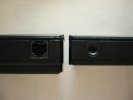
Here is a comparison of the old Valentine One with the
new Valentine One (as of 04/02).
Top: Old Valentine One, you notice it is
much thicker and it weighs more too.
Bottom: New Valentine One (new as of 04/02)
Here is a side comparison of the old Valentine One with
the new Valentine One (as of 04/02).
Left: Old Valentine One, right side
view of the old V1
Right: New Valentine One (as of 04/02), left side view of the new V1
1. Remove panels to expose fuse box.
Alright, time to begin the install. First things you'll
have to do is to remove all the panels on the passenger side. Start with the
plastic trim between the A-Pillar and the door sill. Gently pull it off. Then from top down, pull the A-Pillar out. Now remove the door sill starting
from the back. Lastly, remove the kick panel starting from top down. The
fuse box is now exposed. Remove the cover.
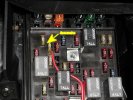
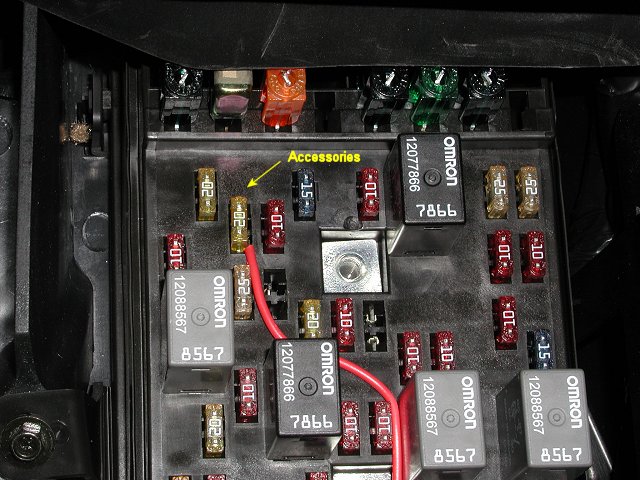
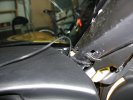
2. Connect direct-wire power adapter.
Look for the accessories fuse and remove it. On the
direct-wire power adapter (included with the V1) cut the
fused red wire and strip about 3mm off
the end. Slip it into the acc fuse socket then press the fuse over it. It
will make a really secure connection. Now just route the wire to the top so
when you put the fuse box over back on it won't crush the wire.
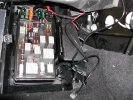
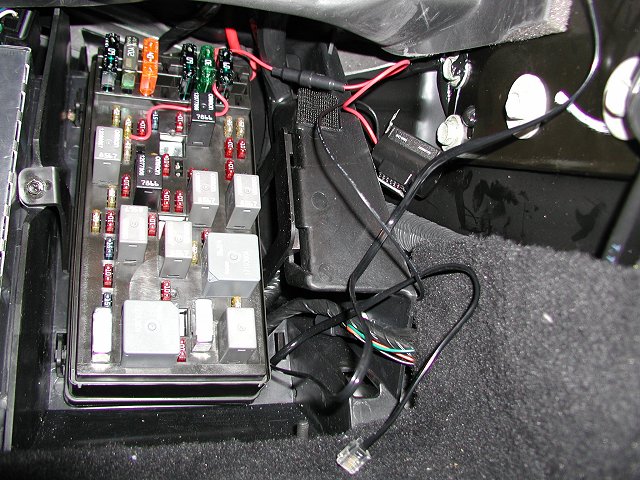
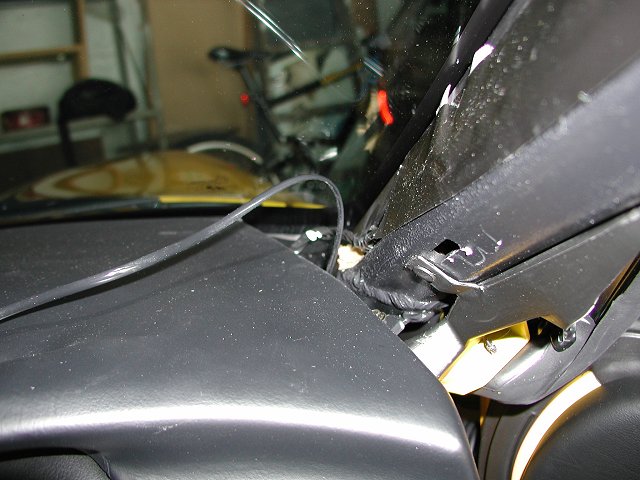
3. Close fuse box and route wire.
Tuck the red wire neatly to the side of the fuse box.
Now is a good time to route the RJ11 wire down the side of the car to the
kick panel area. I found it easier to just drop it down from the side and
tuck it behind everything. If you get it right, you won't even see it there.
There is enough gap to push it back there without removing any additional
parts.

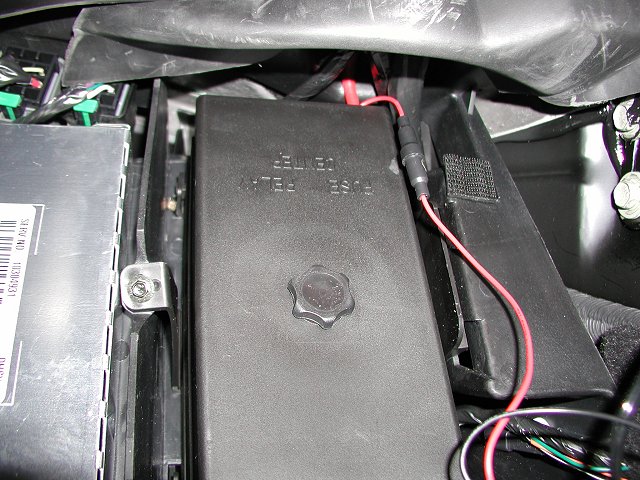
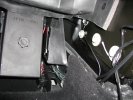
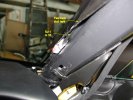
4. Mount direct-wire adapter to surface.
Clean the surface area on the bottom with alcohol then
attach the direct-wire adapter to the surface. This is necessary to prevent
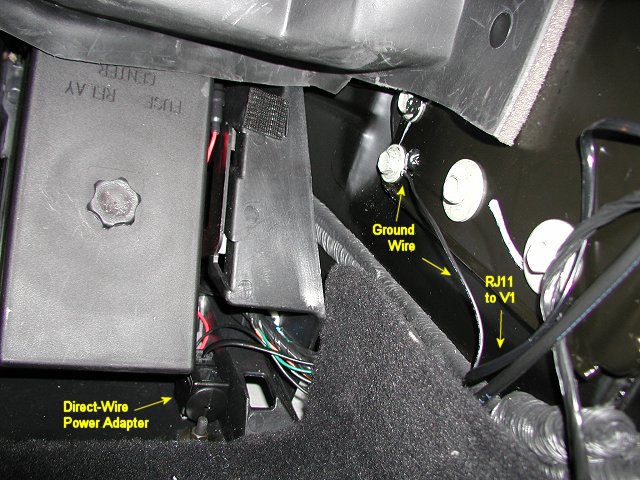
rattling from the adapter hitting into things as your drive. As you can see
from the image to the right, I also attached the ground wire and the RJ11
power/ground wire.
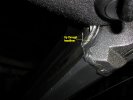
5. Route RJ11 wire up side of dash.
Now just neatly tuck the power/ground RJ11 wire up the
A-Pillar. The wire should be near the back, if you end up having it closer
to the front, try to work it to the back so it looks neat and professional.
6. Route RJ11 wire up pillar.
Make sure your fingers are clean and free of oil, then
carefully peel back on the factory duct tape and tuck the RJ11 wire
underneath. If your duct tape is old then it's probably best to tape over it
with new duct tape. My car is only 3 months old so the tape is still pretty
fresh so I just reused it.
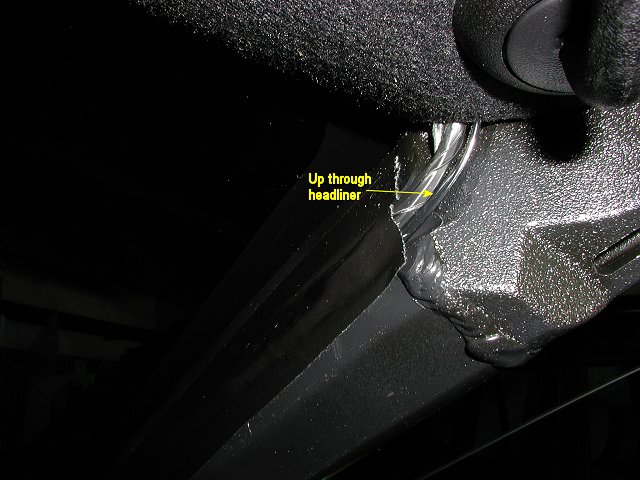
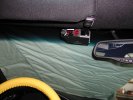
7. Route RJ11 under headliner.
When you get to the top, try to stick the wire under the
headliner as seen in the picture to the left. Then from the front of the
headliner, just tuck the wire all the way through to the drivers side.
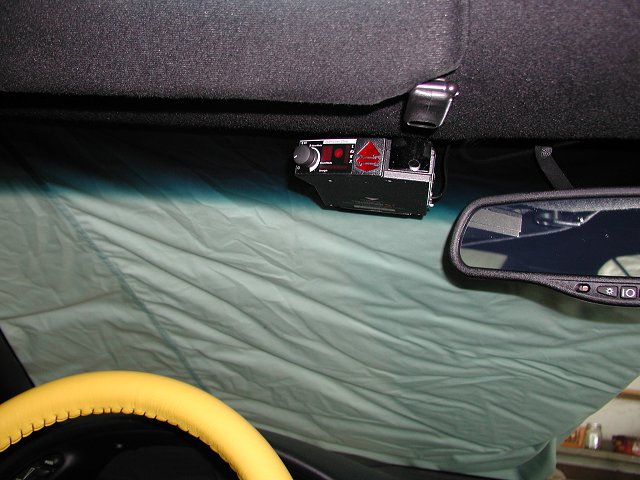
8. Mount V1.
When completed you can mount the V1, and test it. Once
you are sure everything works, you can reverse the process and put all the
panels back in. Now you can take your car out for a quick spin and enjoy
your hard work (and hard earned money to pay for this thing).
|